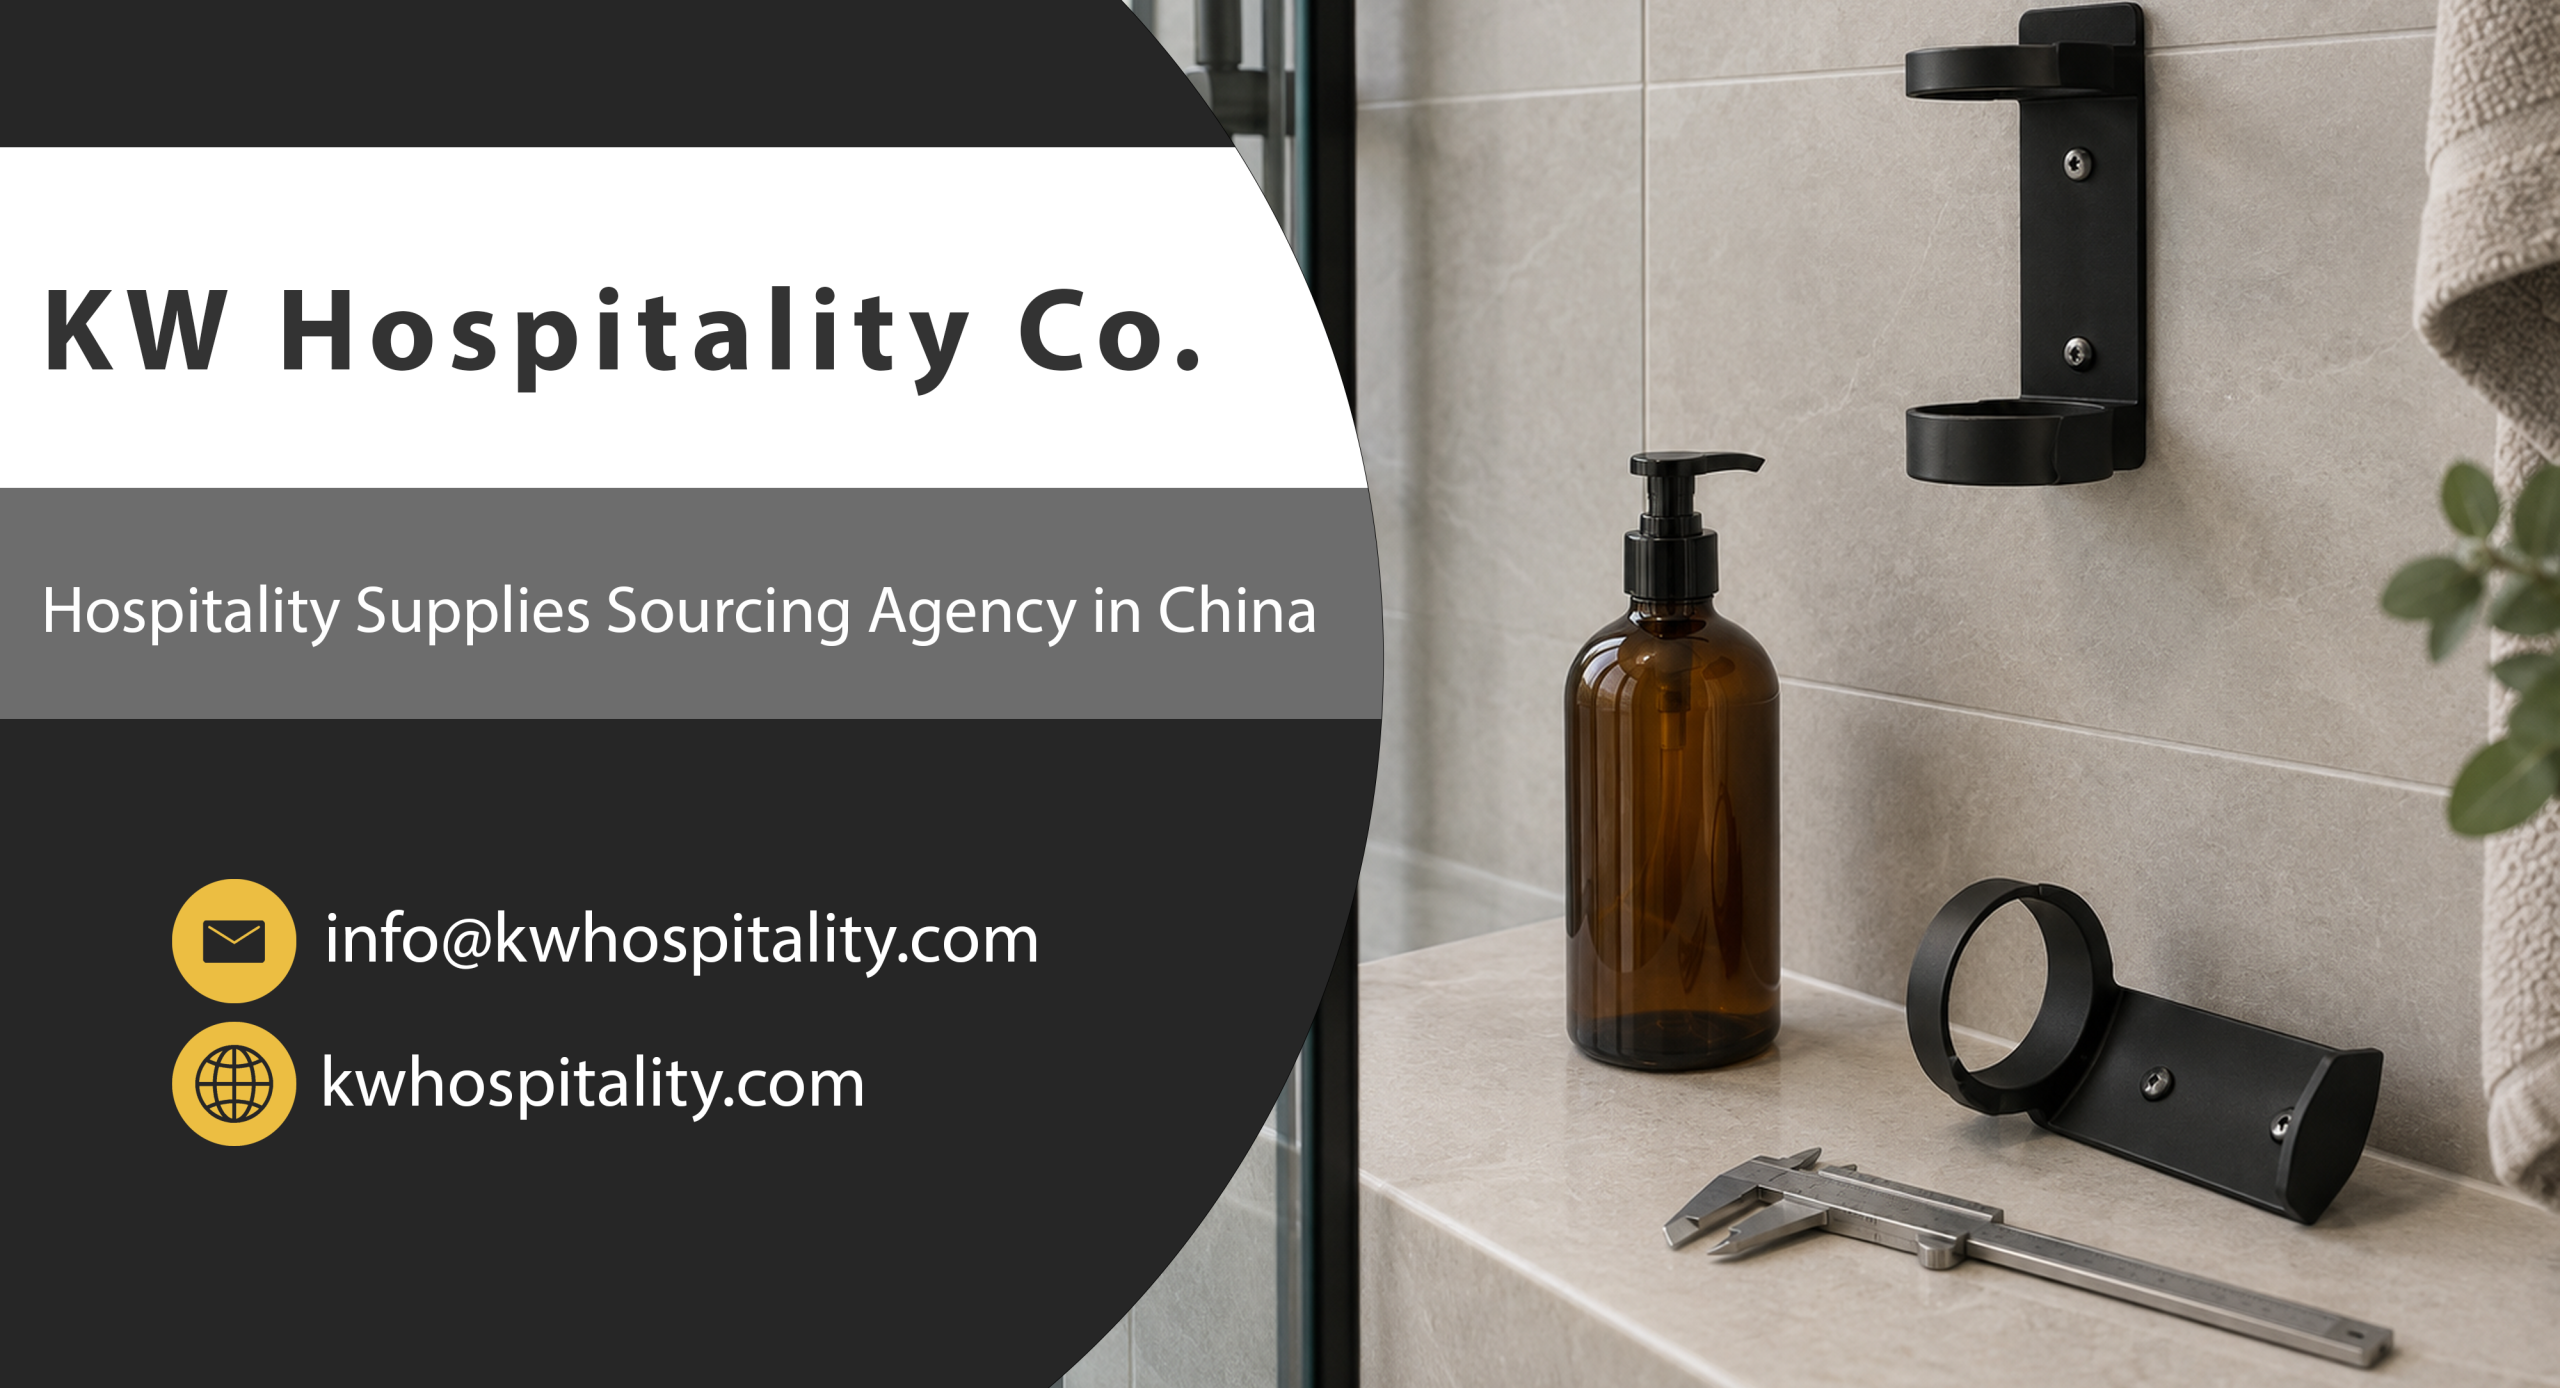
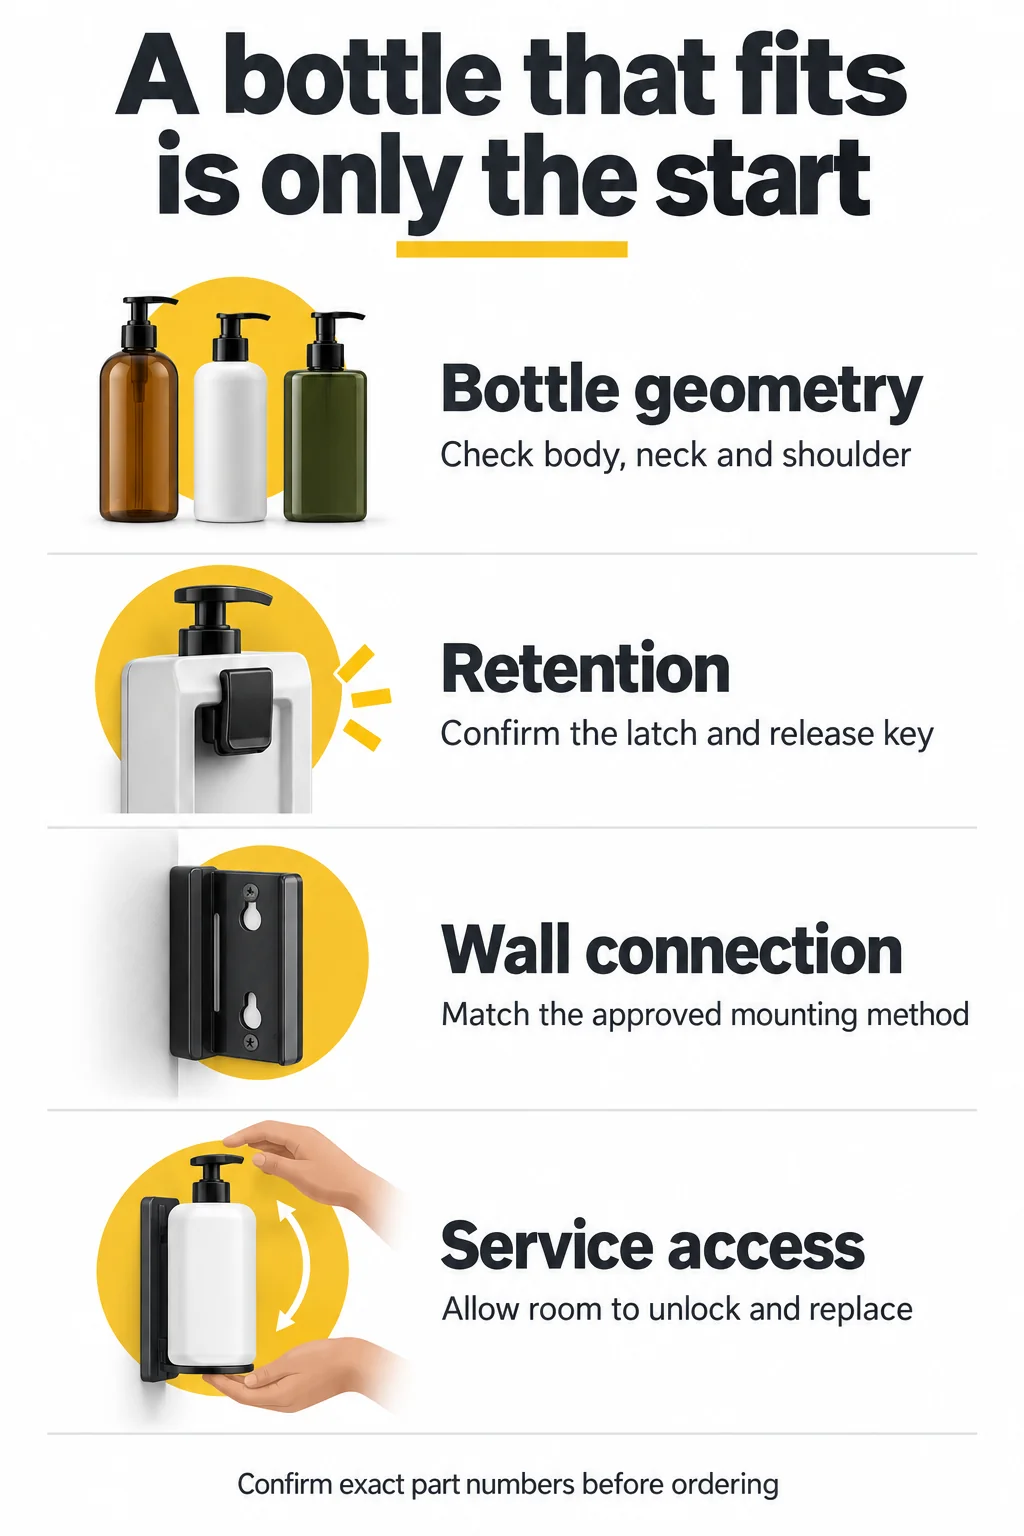
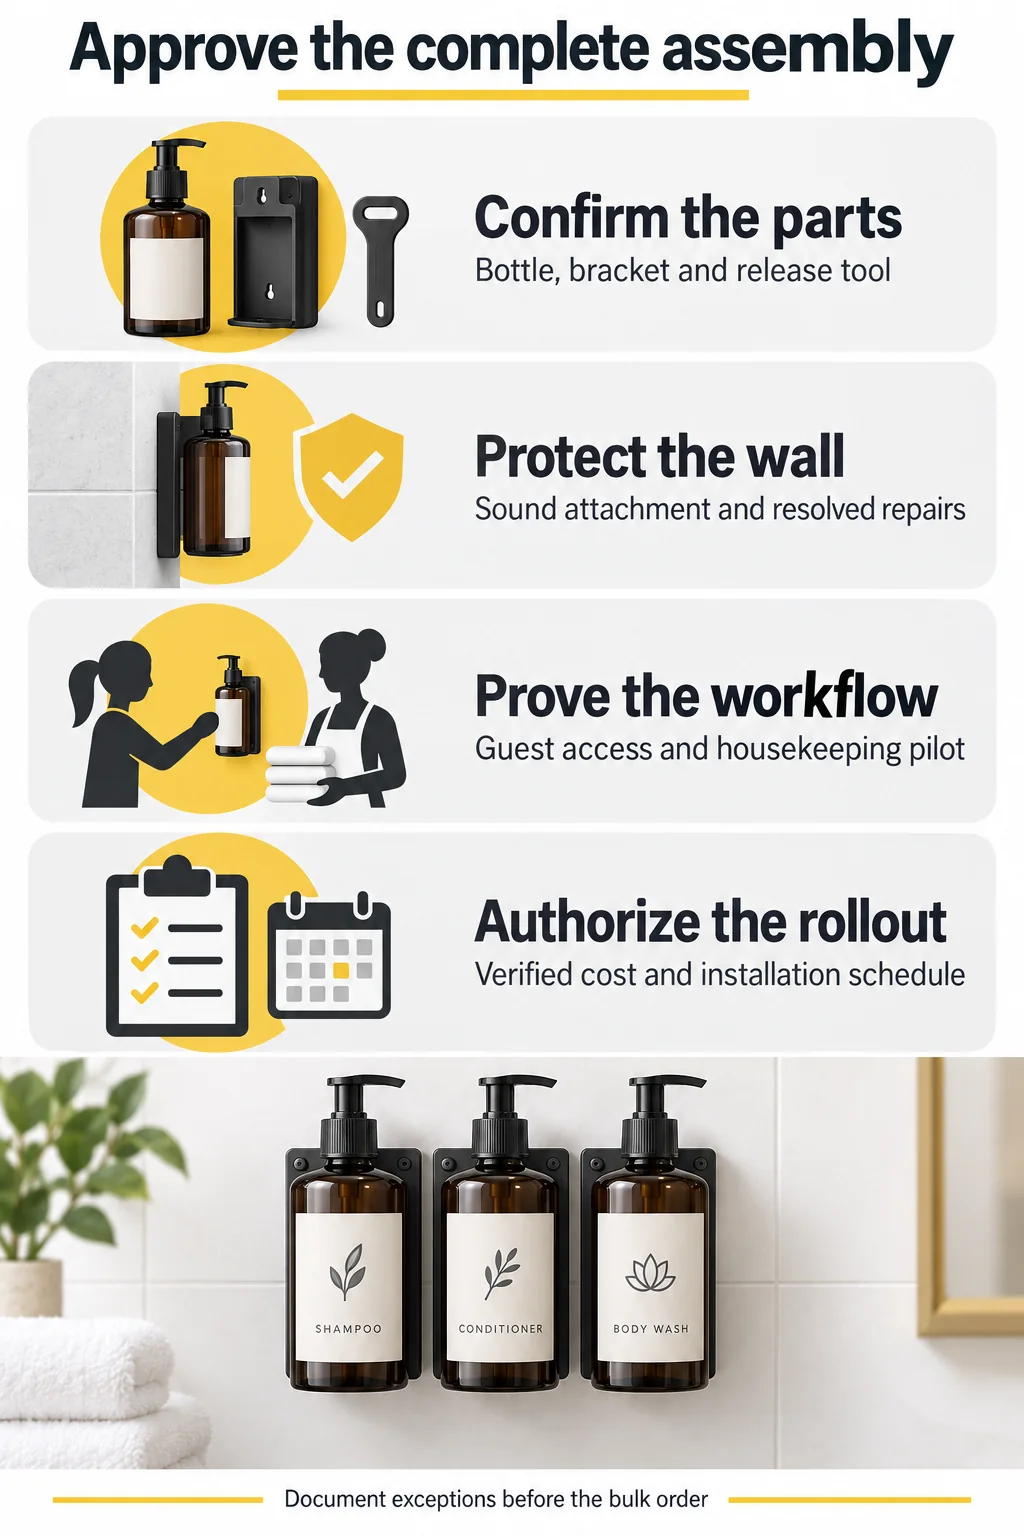
Before changing hotel toiletry brands, confirm that the proposed bottle, retaining mechanism, wall bracket, and installation method work together as an approved system. A bottle that slides into an existing holder has passed only a fit check. It may still rotate during pumping, fail to lock, obstruct the release key, or place a different load on an aging wall connection. Order a production-representative sample and obtain written compatibility confirmation before committing to a property-wide conversion.
This matters because a dispenser retrofit involves more than the price of shampoo or the appearance of a new bottle. Removing brackets can expose old holes, adhesive outlines, damaged grout, or a different tile color beneath the original footprint. Installing replacements can also require room access, surface preparation, a waiting period before loading or wetting the assembly, and a second visit by engineering or housekeeping. A lower refill price can therefore produce an expensive changeover if the mounting decision comes too late.
For a hotel purchasing manager, the practical starting point is the installed hardware, not a catalog photograph. Engineering needs to establish how the brackets attach to each wall type. Housekeeping needs to demonstrate that staff can identify products, unlock the holders, replace bottles, and clean the surrounding surfaces without a slower or more fragile routine. Procurement then needs to connect those findings to exact part numbers, replenishment terms, and an achievable installation schedule.
The process below separates bottle compatibility from wall compatibility, compares three retrofit routes, and shows how to include conversion costs in the buying decision. It applies to guestroom shampoo, conditioner, and body-wash installations; it is not a substitute for the selected manufacturer’s installation instructions. Different room renovations, dispenser generations, and wall finishes may require different solutions within the same property.
Identify the Installed System and Verify Bottle Compatibility
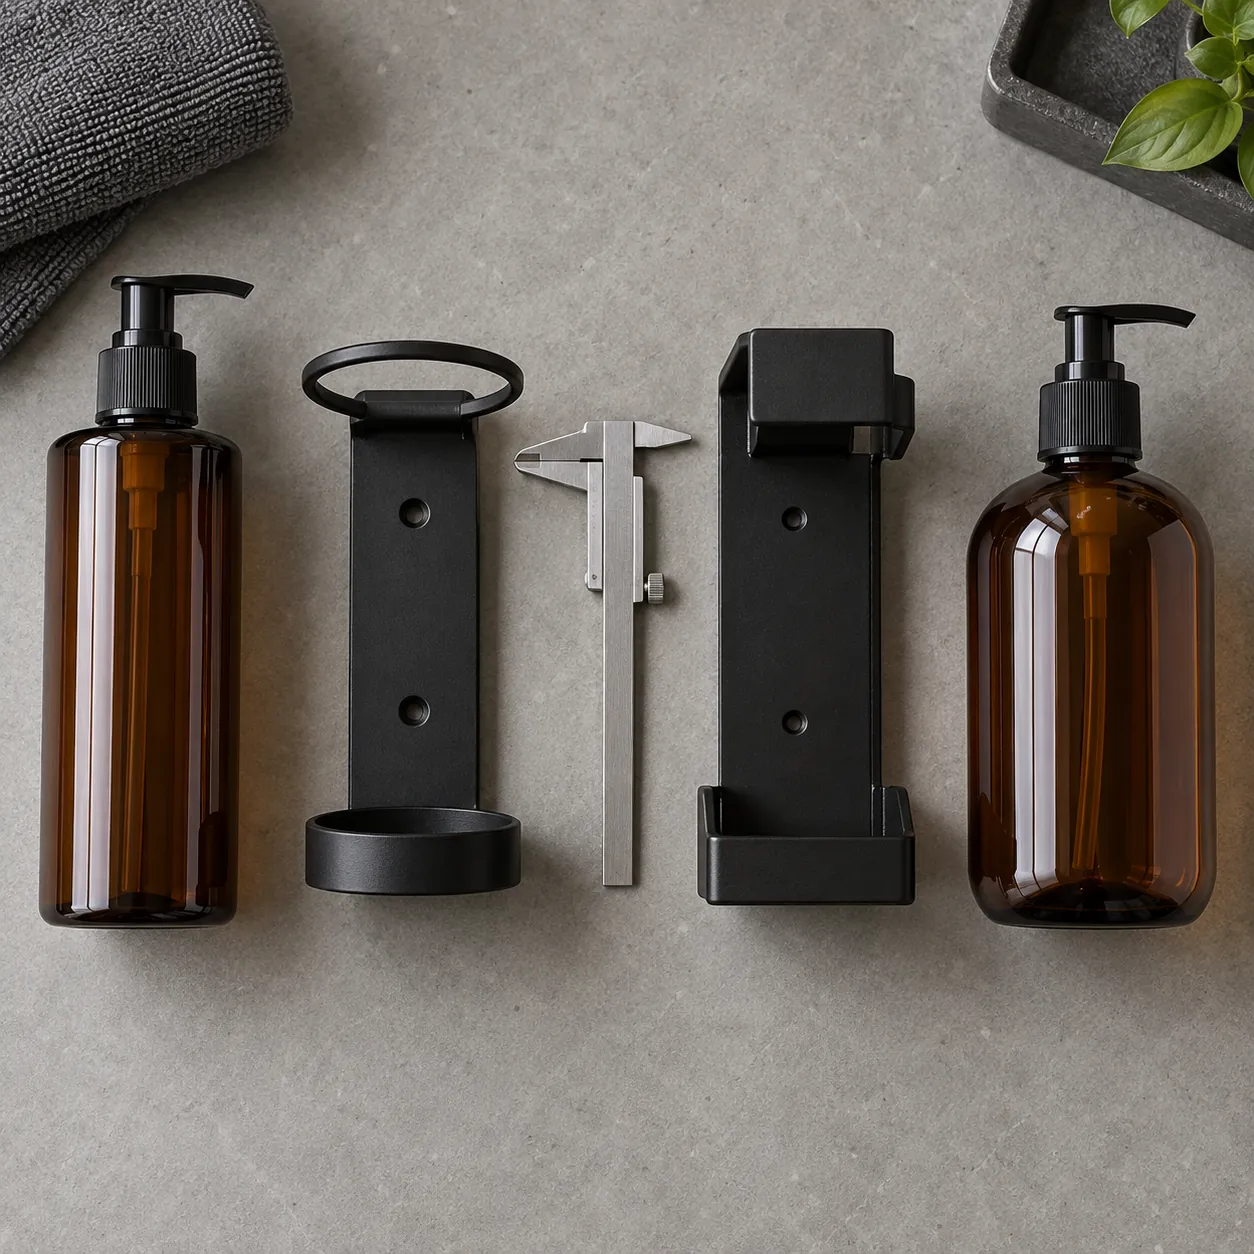
Treat the installed dispenser as a set of connected parts, each with its own identity and condition. Record the bottle or cartridge, pump or valve, retaining bracket, release tool, and wall attachment before evaluating a replacement. The strongest starting evidence combines supplier records with photographs and a physical sample from each materially different installation. This avoids approving a new bottle against a display unit while overlooking older holders elsewhere in the hotel. The goal is to establish which combinations can be retained, which require an approved adapter, and which need complete replacement before prices are compared.
Separate the cosmetic brand from the dispenser platform
A fragrance or cosmetic brand can be available in several packaging formats. Conversely, one dispenser platform can support several cosmetic collections. ADA Cosmetics, for example, presents multiple collections within its SmartCare system and separately describes its bracket and exchange process. That supports evaluating the platform first; it does not establish compatibility with an unrelated supplier’s bottle. See the manufacturer’s SmartCare system information.
The manufacturer’s wall-holder catalog also distinguishes holder families and includes some specifically identified shared holders. Ask for confirmation covering the exact existing holder and proposed bottle part numbers, including generation or revision where relevant. A general statement such as ‘works with hotel dispensers’ is not enough.
Measure the interfaces that actually control fit
Photograph the installed assembly from the front and side, then document the accessible bracket and bottle separately. Record overall bottle height, body width or diameter, neck and shoulder geometry, the bracket’s support points, and the location of any locking notch. Note the available upward, downward, and side clearance for removal. Use a consistent unit, preferably millimeters, and identify the measurement datum. A photograph with a ruler helps communicate scale but does not replace a dimensioned drawing.
On a sample assembly, confirm that the bottle seats fully, the retaining device engages without forcing it, the pump operates freely, and the designated key releases the bottle without prying. Check the actual shampoo, conditioner, and body-wash packs individually: identical label styling does not prove identical bottle or pump geometry. Include filled units because empty packs do not represent the installed load.
| Compatibility layer | Evidence to compare | What a mismatch means |
| Bottle and holder | Body, neck, shoulder, support and latch geometry | A loose or forced fit requires another approved combination. |
| Pump and service space | Pump travel, hand space, key access, removal direction | The unit may fit but remain difficult to operate or service. |
| Bracket and wall | Hole layout, footprint, fasteners or adhesive specification | Bottle compatibility alone cannot justify retaining the wall connection. |
| Product and dispensing system | Approved formulation, pump or valve, refill instructions | Do not assume a holder approval also covers liquid or hygiene compatibility. |
If the existing part number cannot be recovered, send the supplier a removed sample from a room scheduled for work. Keep unidentified combinations outside the bulk-order approval until they have been resolved. Do not bend retaining tabs, enlarge slots, or add improvised spacers to make a sample appear compatible.
Choose a Mounting Route That Protects the Bathroom Wall
Choose the retrofit route only after confirming both the mechanical interface and the condition of the wall connection. Retaining a sound, supported bracket can reduce disruption, but keeping an unknown or damaged attachment simply carries its uncertainty into the new installation. An adapter can be useful when its intended interfaces and installation method are documented. Full replacement may be the more dependable choice when the old system is unsupported or the wall needs repair. Evaluate each route against the actual wall finish, existing footprint, service clearances, and repair work that will remain visible after installation.
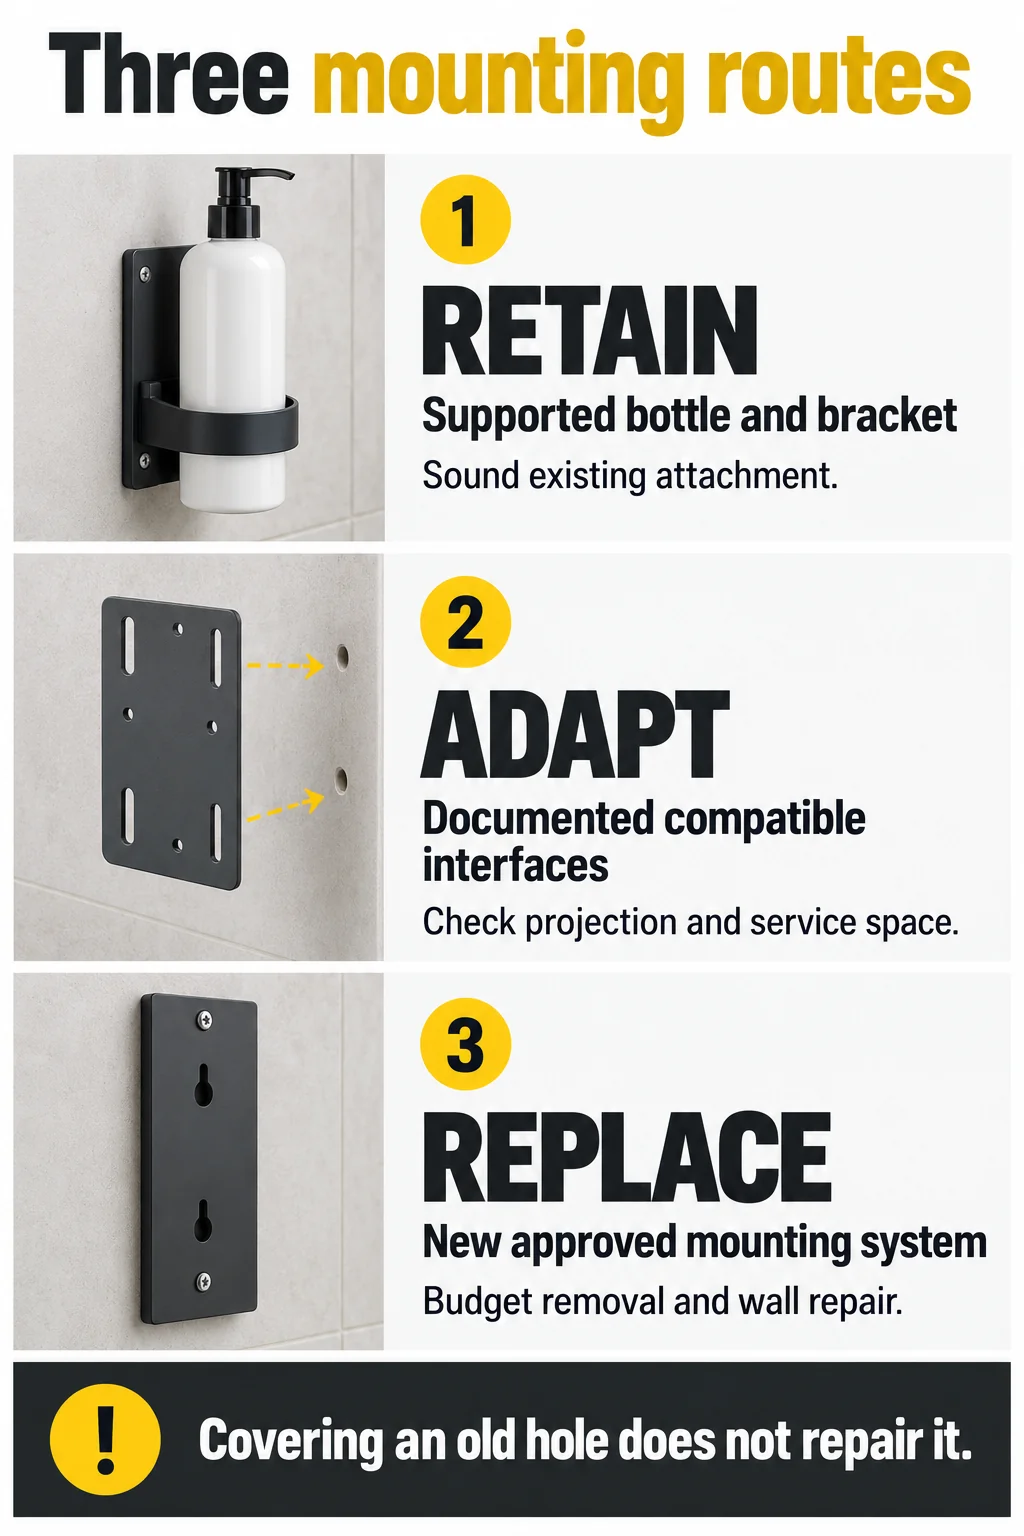
| Route | When it is a candidate | Cost or limitation to resolve |
| Retain the existing bracket | Exact bottle/holder combination is supported; bracket and attachment remain sound. | Inspect aging hardware and confirm continued replacement-part availability. |
| Use an approved adapter | Supplier documents both interfaces and the complete assembly’s installation. | Check added projection, service clearance, cleaning access and warranty responsibility. |
| Replace the complete mount | Compatibility is unconfirmed, hardware is damaged, or the new platform needs another bracket. | Allow for removal, wall repair, mounting materials and return-to-service time. |
A larger backplate can hide a mark without repairing it
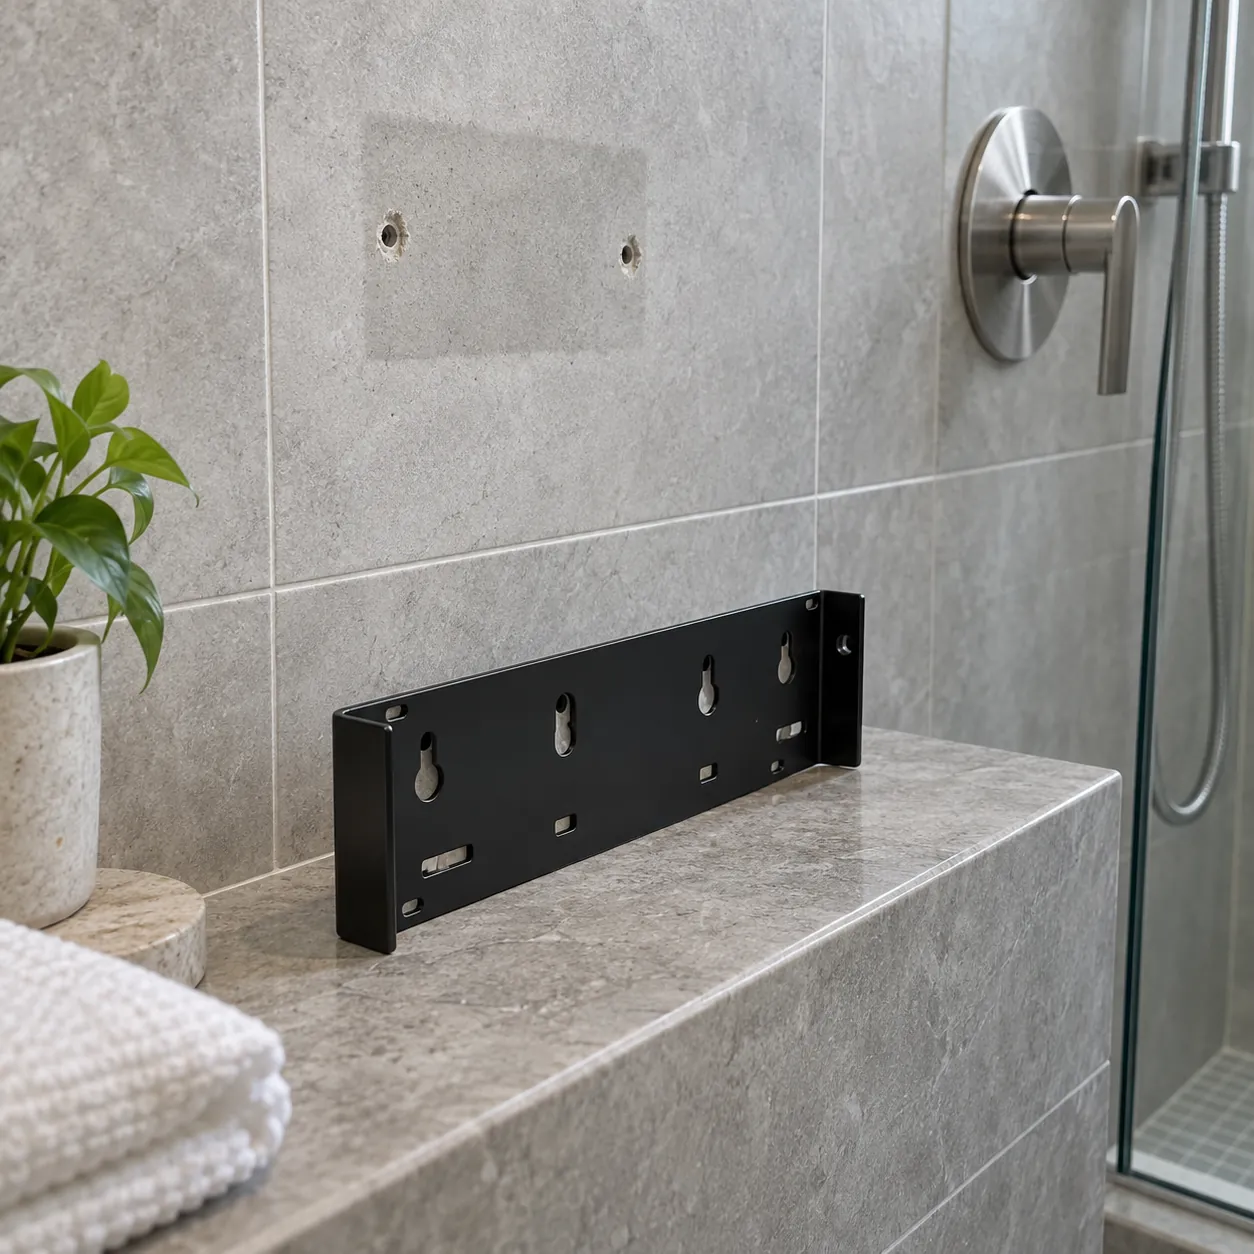
Compare the new bracket’s installed outline with the old outline, hole centers, grout lines, and damaged areas. Two holders can have the same overall height yet use different hole spacing. A wide replacement plate may cover old holes visually while leaving an unresolved penetration behind it. Have engineering specify the appropriate repair for the wall assembly before covering the area.
Distinguish the visible finish from the supporting construction behind it. Tile, grout, stone, acrylic panels, and painted surfaces do not provide interchangeable attachment conditions. Identify loose finishes, cracked tile, moisture damage, failed sealant, and uncertain backing before approving reuse. For new penetrations, confirm concealed services, suitable support, fasteners, and the wall system’s sealing detail. This article intentionally gives no universal drill size or anchor selection.
Adhesive installation needs its own approval and schedule
Obtain the selected dispenser manufacturer’s instructions for the exact adhesive or bonding system, permitted substrates, preparation method, installation conditions, and required waiting periods. Separate the time before loading a bracket from the time before exposing it to shower water if the instructions distinguish them. Do not transfer a cure-time claim from another adhesive or dispenser model.
Ask how old adhesive will be removed without damaging the finish, whether the surface treatment affects bonding, and who approves any cleaning solvent. Where the instructions require a clean, dry surface, a recently used shower must be made ready before installation begins. Record the installed assembly’s release time so housekeeping does not refill or return it to guest use prematurely. A quick hand pull is not a substitute for the specified installation and acceptance method.
Recheck guest access when the assembly moves or projects farther
An adapter, larger bottle, or relocated bracket can change the position of the pump and the space needed to reach it. Check access from the intended guest position, alongside grab bars, seats, controls, and shower doors. Evaluate the operating part rather than treating the top of the backplate as the relevant height.
For US projects subject to the ADA Standards, the US Access Board’s operable-parts guidance explains reach, clear-space, and operation requirements. Obstructions can change permitted reach, so one mounting height is not a universal approval. Have the project team verify the applicable requirements for the room and jurisdiction; Canadian properties need the relevant local accessibility requirements.
Pilot the Retrofit and Compare the Full Conversion Cost
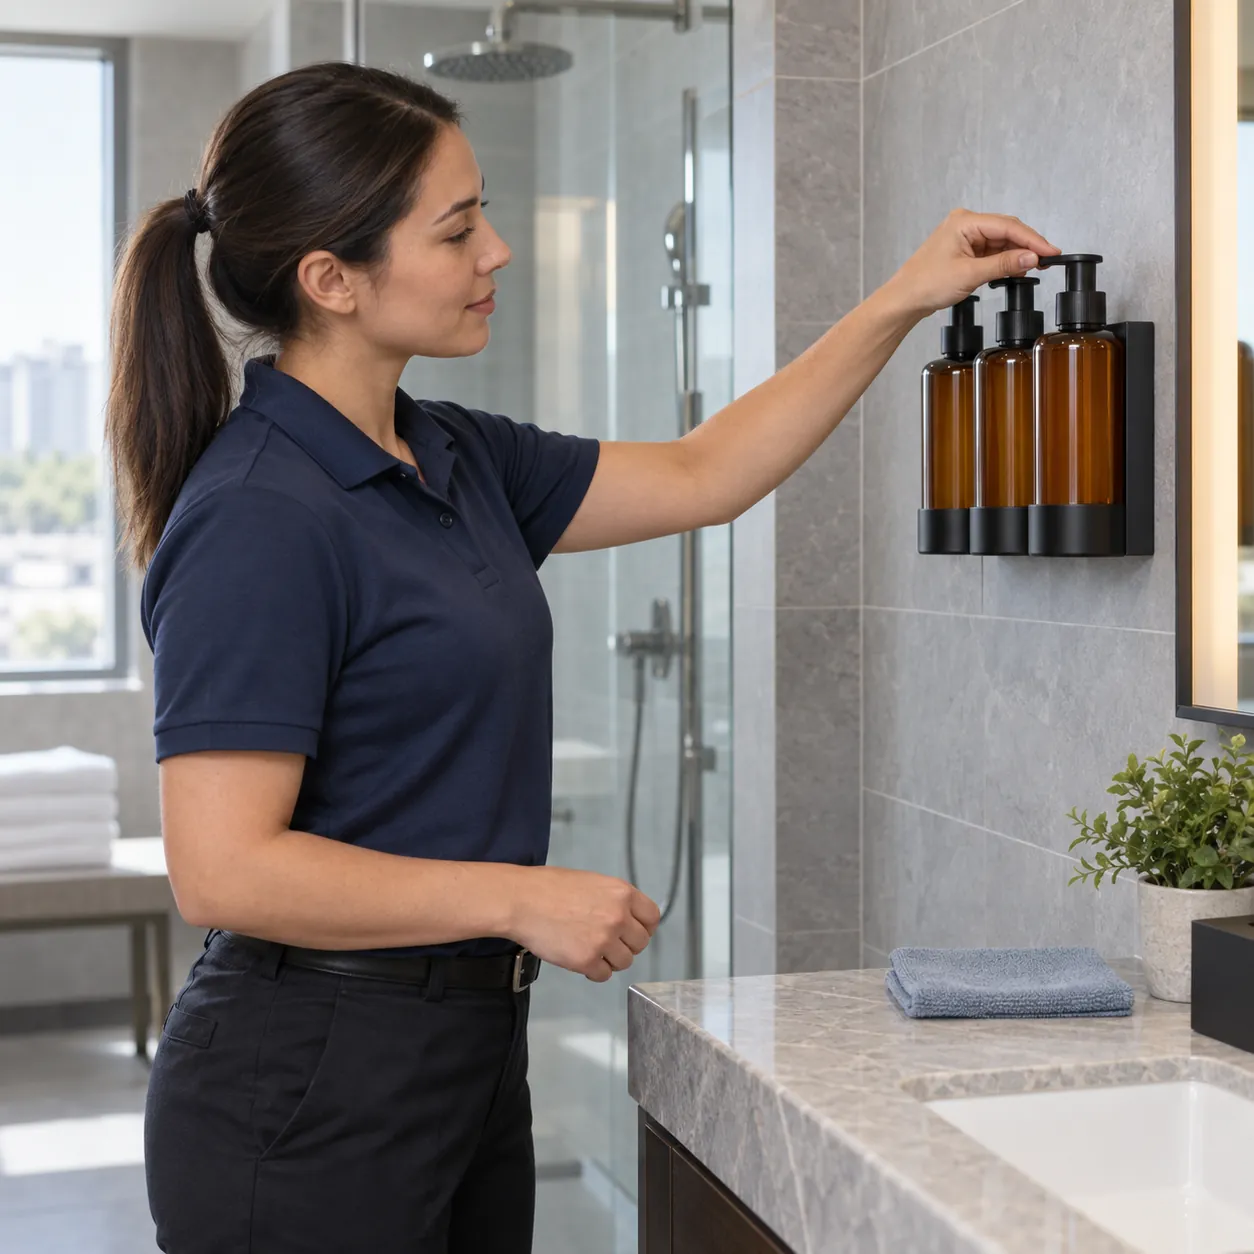
Approve a property-wide change only after a pilot demonstrates the proposed assembly in representative bathrooms and routine housekeeping work. A supplier’s showroom sample cannot reproduce every wall finish, older installation, or cramped service position in the hotel. Choose the pilot around meaningful differences in the property, then use its measured labor, defects, and room-release timing to update the budget. The purpose is not to manufacture a favorable trial result. It is to expose combinations that require another mounting route and to establish an operating method that engineering, housekeeping, procurement, and room scheduling can actually support.
Test different installations, not just additional identical rooms
Include each known bracket generation, wall finish, and relevant bathroom layout. Where the project includes accessible rooms, include those layouts in the review. There is no universal pilot-room count or test duration: agree the scope with the responsible engineering team and supplier, and cover the installation conditions and service cycles that matter. If failures concentrate in one wall or hardware group, expand investigation in that group before extending approval.
After the prescribed installation and waiting period, inspect the filled assembly using the manufacturer’s acceptance procedure. Have housekeeping perform normal product changes, unlocking, pumping, and cleaning. Record hands-on minutes, key access problems, movement, leakage, loose parts, cleaning difficulties, and any finish damage. Pause rollout for unexplained attachment movement, wall damage, or recurring functional failures. An initial successful pilot does not prove lifetime performance; retain a follow-up inspection plan.
Keep a dated approval record identifying the accepted bottle, bracket, adapter if any, attachment materials, installation instructions, sample photographs, and room types covered. Hold a production sample for comparison when the shipment arrives. Ask the supplier to notify you before changing bottle geometry, bracket tooling, adhesive specification, or release mechanism.
Use an installed-cost comparison
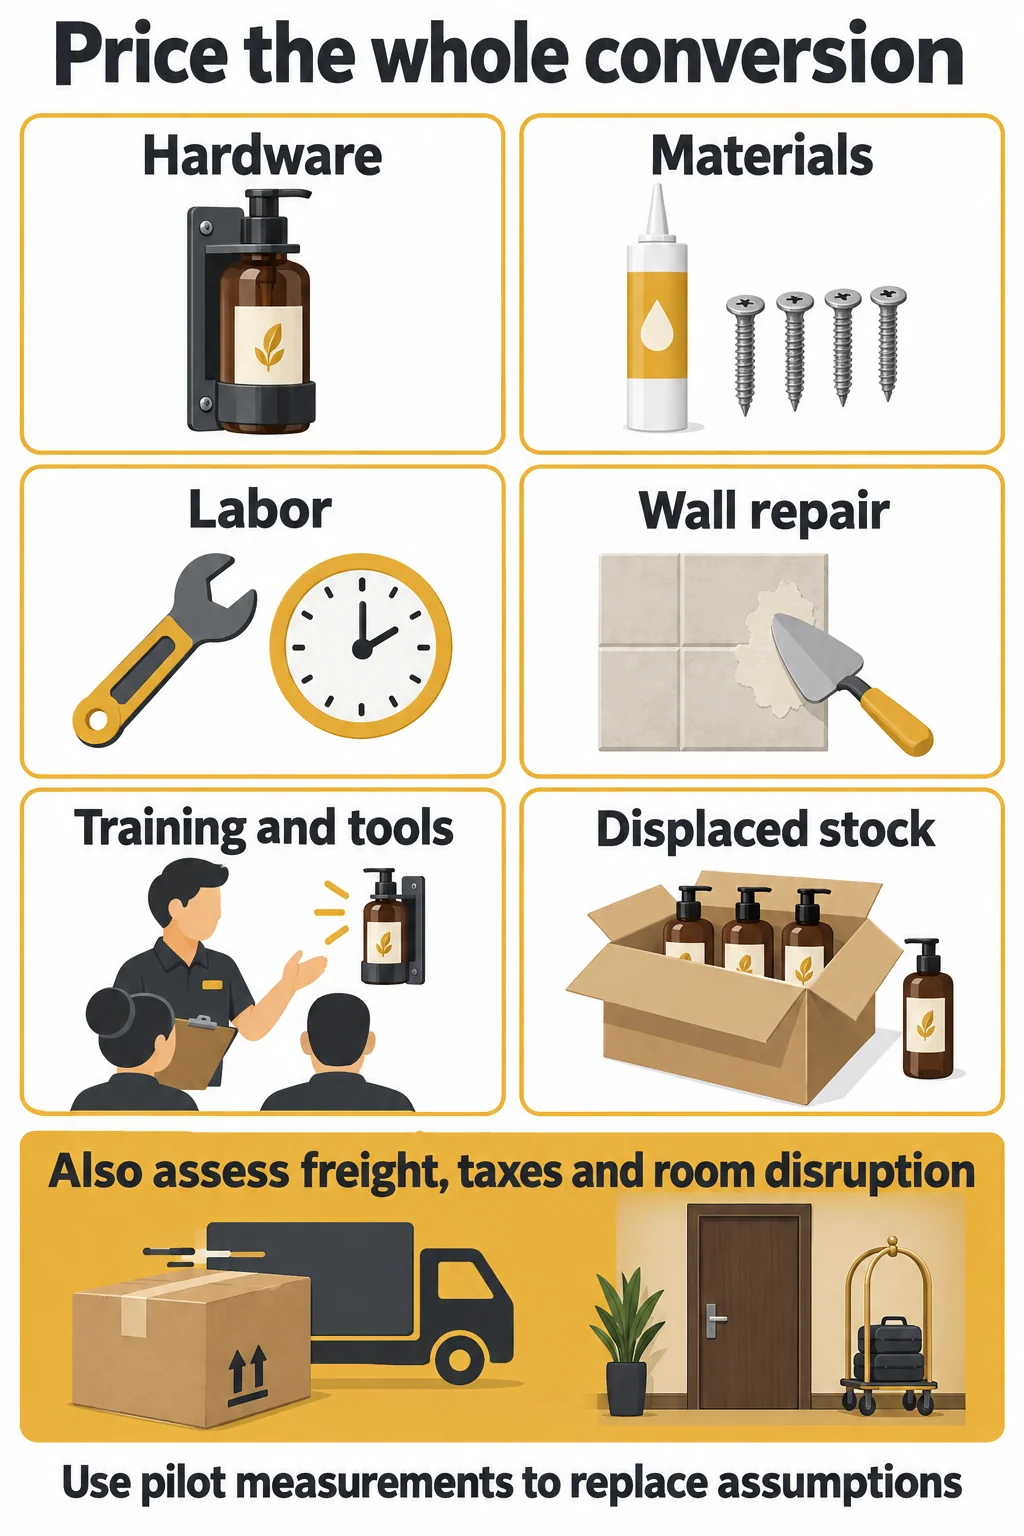
For each retrofit route, calculate one-time conversion cost as hardware plus installation materials, removal and preparation labor, wall repair, training and service tools, displaced stock, and any incremental room disruption. Add freight and nonrecoverable taxes or duties where applicable. Count assemblies separately from bottles: a three-position station may have one shared backplate rather than three independent mounts.
Illustrative example, not a quotation or industry benchmark: a 120-room hotel replaces one three-position station per room. Assume station hardware costs $22 per room, installation materials cost $4 per room, and hands-on work takes 18 minutes per room at $30 per hour. Twenty-four rooms require $35 of wall repair each. Training and service tools add $300, while displaced stock adds $240. All values below are hypothetical US dollars.
| Conversion item | Calculation | Cost |
| Station hardware | 120 × $22 | $2,640 |
| Installation materials | 120 × $4 | $480 |
| Hands-on labor | 120 × 18 ÷ 60 × $30 | $1,080 |
| Wall repair | 24 × $35 | $840 |
| Training and tools | Assumed allowance | $300 |
| Displaced stock | Assumed allowance | $240 |
| Total before excluded costs | Sum of the above | $5,580 |
That equals $46.50 per converted room before freight, nonrecoverable taxes or duties, and room disruption. Waiting for an adhesive to reach the specified readiness is elapsed time, not automatically paid labor; count additional visits as labor and any actual displacement of room sales separately. Avoid valuing every blocked room-night at the advertised room rate if the room would not otherwise have sold.
If independently verified net operating savings are $0.10 per occupied room-night and annual occupancy is 70%, the illustrative annual saving is 120 × 365 × 0.70 × $0.10 = $3,066. Simple payback on the $5,580 subtotal is about 1.82 years. At only $0.05 in net savings, it becomes about 3.64 years. These are arithmetic scenarios, not predicted results; excluded conversion costs increase payback.
Measure net savings after differences in product consumption, housekeeping time, packaging disposal, leakage, and replacement hardware. Comparing price per bottle alone can be misleading when pack volume or dose changes. If net savings are zero or negative, there is no positive simple financial payback; a brand or guest-experience decision still needs its own stated rationale.
Carry the pilot findings into the RFQ and rollout
Ask suppliers to quote the accepted combination with separate prices for replacement mounts, approved adapters, release tools, spare pumps, and replenishment packs. Include photographs, dimensioned information, quantities by installation group, wall conditions, and required delivery phases. Request responsibility for compatibility confirmation and the proposed remedy if delivered components differ from the approved sample.
Coordinate the conversion with the wider hospitality supplies program so packaging, replenishment, and room presentation remain consistent. During a phased rollout, identify which floors or rooms use each system and keep their refill stock and keys clearly separated. Deplete usable old stock where practical before conversion, without improvising transfers into a new dispenser system.
Conclusion
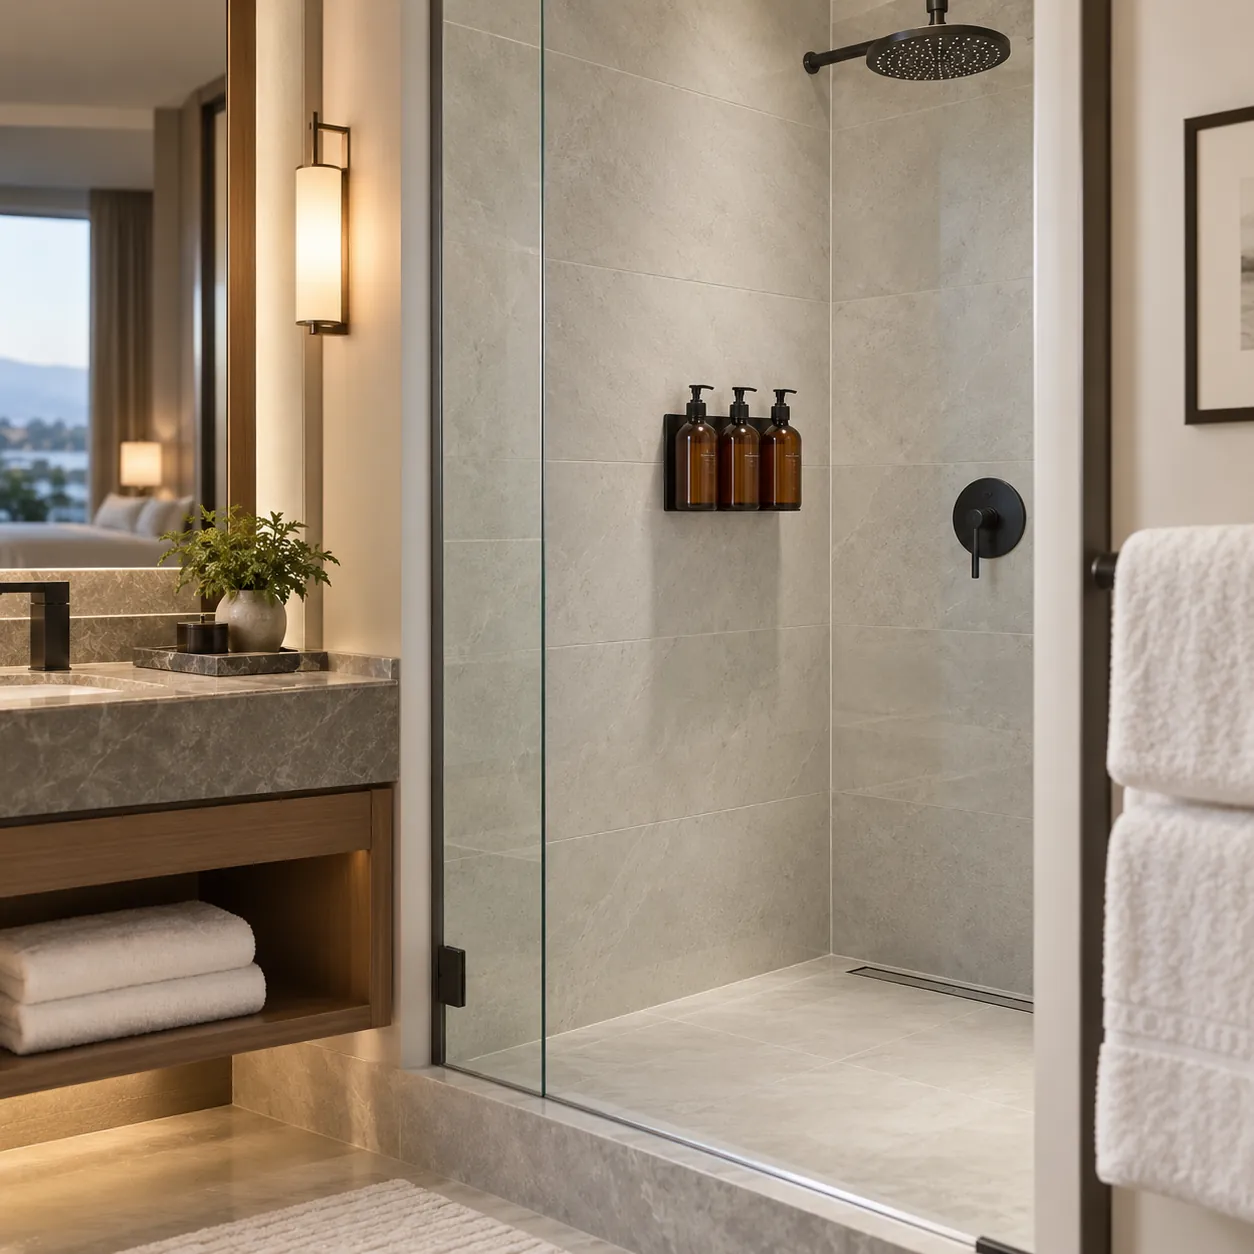
A successful hotel toiletry dispenser retrofit begins with an identified, supported assembly and a sound wall connection. Confirm the exact bottle and holder combination, resolve the mounting and repair method for each room group, and verify guest access and housekeeping service space. Then use a representative pilot to establish the real conversion cost and schedule. This sequence gives procurement a defensible basis for choosing between retaining brackets, using approved adapters, and installing a new system. It also makes exceptions visible before a full shipment arrives, when changing the plan is still manageable.
To discuss sourcing for a planned changeover, request a quote from KW Hospitality with your room count, existing-mount photos, proposed toiletry format, known wall conditions, and target installation window. Ask for sample-based compatibility review and clearly itemized hardware options before authorizing the bulk order.
Frequently Asked Questions
Does the same bottle capacity mean a replacement will fit?
No. Capacity describes the amount of product, not the neck, shoulder, base, or retaining geometry. Two packs with the same stated volume can require different holders. Confirm the exact pack and bracket combination using drawings, supplier confirmation, and a physical sample.
Can an old adhesive bracket be reused after removal?
Do not assume it can. Removal can damage the bracket or its bonding surface. Ask the manufacturer whether reuse is permitted and, if so, what inspection, preparation, and new bonding materials are required. Do not reinstall with a disturbed adhesive pad simply because it still feels tacky.
Can a larger backplate eliminate the need to repair old holes?
No. Covering an opening is a cosmetic outcome, not proof that the wall assembly has been properly repaired. Engineering must determine the appropriate treatment of old penetrations and any damaged finish or waterproofing before the new plate is installed.
Should a hotel decant the old product into the new bottles?
Do not assume that this is permitted. Follow the receiving system’s formulation, cleaning, refill, labeling, and hygiene instructions, and do not refill a sealed single-use cartridge. Mount compatibility does not establish compatibility between the old liquid and a new pump or container.
What if the supplier offers free replacement brackets?
Price the installed changeover anyway. Free hardware does not pay for removal, surface preparation, repair, labor, service tools, stock write-off, or room disruption. Compare the whole approved installation and ongoing operating cost, including the conditions attached to the offer.
Can one pilot room approve the entire hotel?
Only if it genuinely represents all relevant installation conditions, which must be established rather than assumed. Different wall finishes, renovation phases, brackets, and service clearances need representation. Limit the approval to the combinations actually evaluated and investigate exceptions separately.
References
ADA Cosmetics — SmartCare dispenser system
ADA Cosmetics — Wall-holder catalog
US Access Board — Guide to the ADA Standards: Operable Parts