
An accessible hotel reception counter retrofit should give guests a usable place to complete check-in: approach the desk, communicate with an employee, review information, sign when necessary, pay, and receive their keys. Lowering a small piece of countertop is only one part of that job. The usable surface, floor space, underside clearance, device placement, and service procedure must work together in the finished lobby.
The first design decision is what the surface actually does. A guest service counter and a separate writing or work surface can fall under different requirements. In a US project, selecting the wrong category can produce a drawing that looks reasonable but applies the wrong height or approach criteria. In Canada, the applicable provincial or territorial building requirements and accessibility obligations must be established for the property. A single specification labeled accessible cannot settle both markets.
For owners, designers, and purchasing teams, the practical challenge is to improve access without creating a weak countertop, sacrificing essential staff storage, or moving check-in to an inconvenient corner. Existing millwork may conceal electrical services, supporting panels, and uneven flooring. A new terminal mount or replacement worktop can also reduce a clearance that was adequate in the original design. These conditions need to be resolved before fabrication, while changes are still inexpensive to draw.
This guide explains how to define the surface, compare retrofit options, and verify the installed result. The US dimensional examples distinguish common counter and work-surface configurations; they are not a universal approval specification. Have the project designer confirm the applicable rules, alteration scope, and local approvals before ordering. Use the comparison tables to frame decisions, then test a complete check-in at a full-size mock-up. The illustrations are conceptual and should not be used as construction drawings or evidence of compliance.
Define the Surface and the Guest Approach
Start by describing the guest activity, then select the applicable surface and approach requirements. A transaction counter may be arranged for a side approach, while a seated writing surface needs a different relationship between the guest, the top, and the space underneath. These are design choices with consequences for the lobby footprint and the existing cabinet structure. Put the proposed service position on the plan before setting the countertop height. The plan should show how the guest reaches it, where the employee works, and how both people exchange documents and devices without stretching across a barrier.
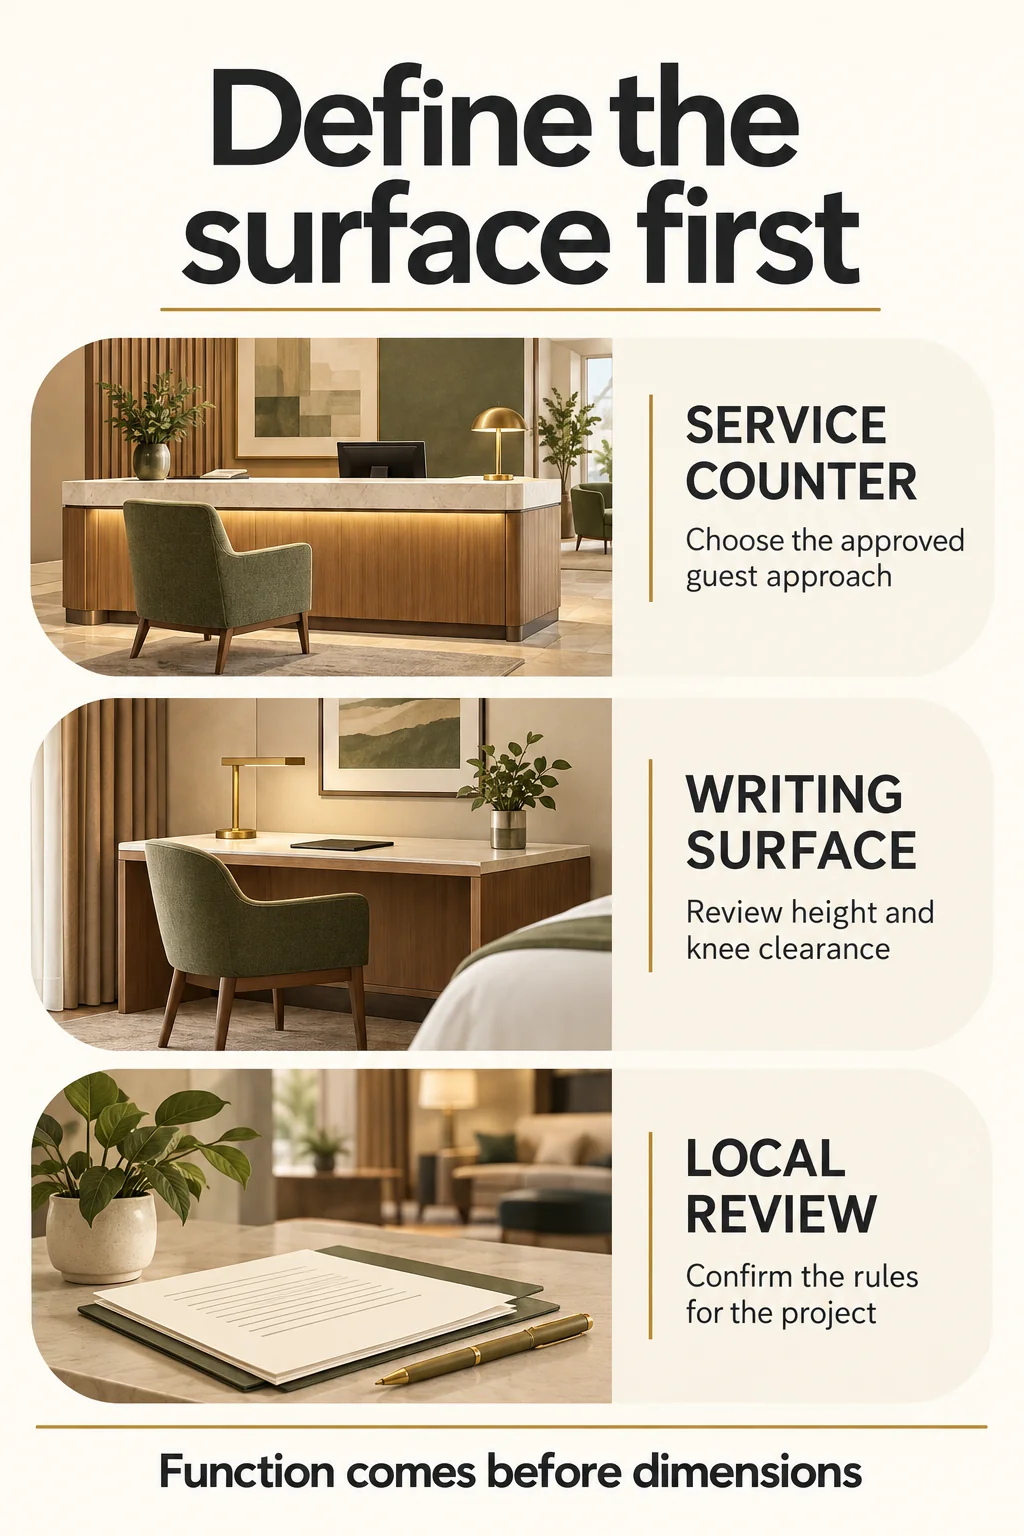
Separate service counters from writing surfaces
For US projects using the 2010 ADA Standards, the following baseline comparison distinguishes three configurations. The applicable scoping provisions, exceptions, and state or local requirements still need project-specific review. Dimensions refer to the finished installation.
| Configuration | Surface height | Length and approach |
| Service counter with parallel approach | 36 in (915 mm) maximum | Accessible counter portion: 36 in (915 mm) minimum length; adjacent parallel clear floor space. |
| Service counter with forward approach | 36 in (915 mm) maximum | Accessible counter portion: 30 in (760 mm) minimum length; forward clear floor space and compliant knee/toe clearance. |
| Writing or work surface covered by Section 902 | 28–34 in (710–865 mm) | Forward clear floor space and compliant knee/toe clearance; assess scoping separately. |
For service counters, the accessible portion extends the same depth as the counter top. A narrow added ledge is therefore not automatically an adequate replacement. The specific alteration exception allowing a shorter counter portion has conditions; age, cost, or limited space alone does not establish eligibility.
Do not assume every reception counter must be 34 inches high, or that every surface used during check-in may be 36 inches high. Ask the designer to document the classification. Signing a receipt during a service transaction does not, by itself, resolve whether a separately provided writing surface is required to meet work-surface provisions.
Measure the space the guest can actually use
In the US baseline, clear floor space is generally at least 30 by 48 inches (760 by 1220 mm), oriented for the selected approach. Confined alcoves can require more room. This rectangle is not interchangeable with a turning space or the accessible route. Draw each required space and account for queue posts, doors, luggage, and movable furniture.
Where knee clearance is required, the basic envelope includes 30 inches of clear width and 27 inches of height, with depth varying through the knee and toe profile. At 27 inches above the floor, the minimum knee depth is 8 inches; at 9 inches above the floor it is 11 inches. Required toe space extends at least 17 inches beneath the element. Have the complete profile checked rather than treating these dimensions as a simple empty box.
Measure between finished obstructions, not cabinet centerlines. A decorative leg, hanging power supply, stone support, or drawer runner can become the controlling obstruction. Show these items in a section drawing so the cabinetmaker and the reviewer evaluate the same physical space.
Allow for top thickness and installation changes
Consider an illustrative proposal with a surface 32 inches above the finished floor. If its top, apron, and lowest support together extend 6 inches downward at the guest’s knee position, only 26 inches remain beneath. The surface height may appear suitable, but the underside fails the 27-inch knee-height baseline for the relevant forward approach. This arithmetic diagnoses one problem; it does not verify the remaining clearances.
Use finished-floor level as the common measurement reference. Include the final top thickness, edging, brackets, adjustable feet, and planned flooring changes. Avoid specifying a legal maximum as a casual production target: small installation differences can put the completed surface beyond it. Let the designer set working dimensions and tolerances that remain inside the approved limits.
Resolve the project jurisdiction before procurement
For a Canadian hotel, have the local designer identify the governing building-code edition, alteration requirements, and applicable accessibility legislation. Do not transfer the US table into a Canadian purchase order as proof of compliance. In Ontario, service-counter accessibility requirements can apply when new counters are constructed or existing counters are replaced. The relevant provincial requirements need their own review.
For a US hotel, distinguish an alteration from ongoing barrier-removal obligations in an existing facility. A limited retrofit does not automatically exempt the altered work, and an existing building is not automatically exempt because it predates modern accessibility standards. Define the project scope and any claimed exception before a supplier is asked to price it.
Choose a Retrofit That Fits the Existing Reception
The most suitable retrofit is the one that provides the approved guest service position while solving the actual constraints of the existing desk. Cutting down a section can preserve the reception layout, but it may disturb supports or concealed services. Replacing a complete module gives the fabricator more control over the underside. A separate service desk can work where the main run is difficult to alter, provided it delivers the intended service and fits the circulation plan. Compare these approaches against the same approved layout and operating requirements before comparing their prices.
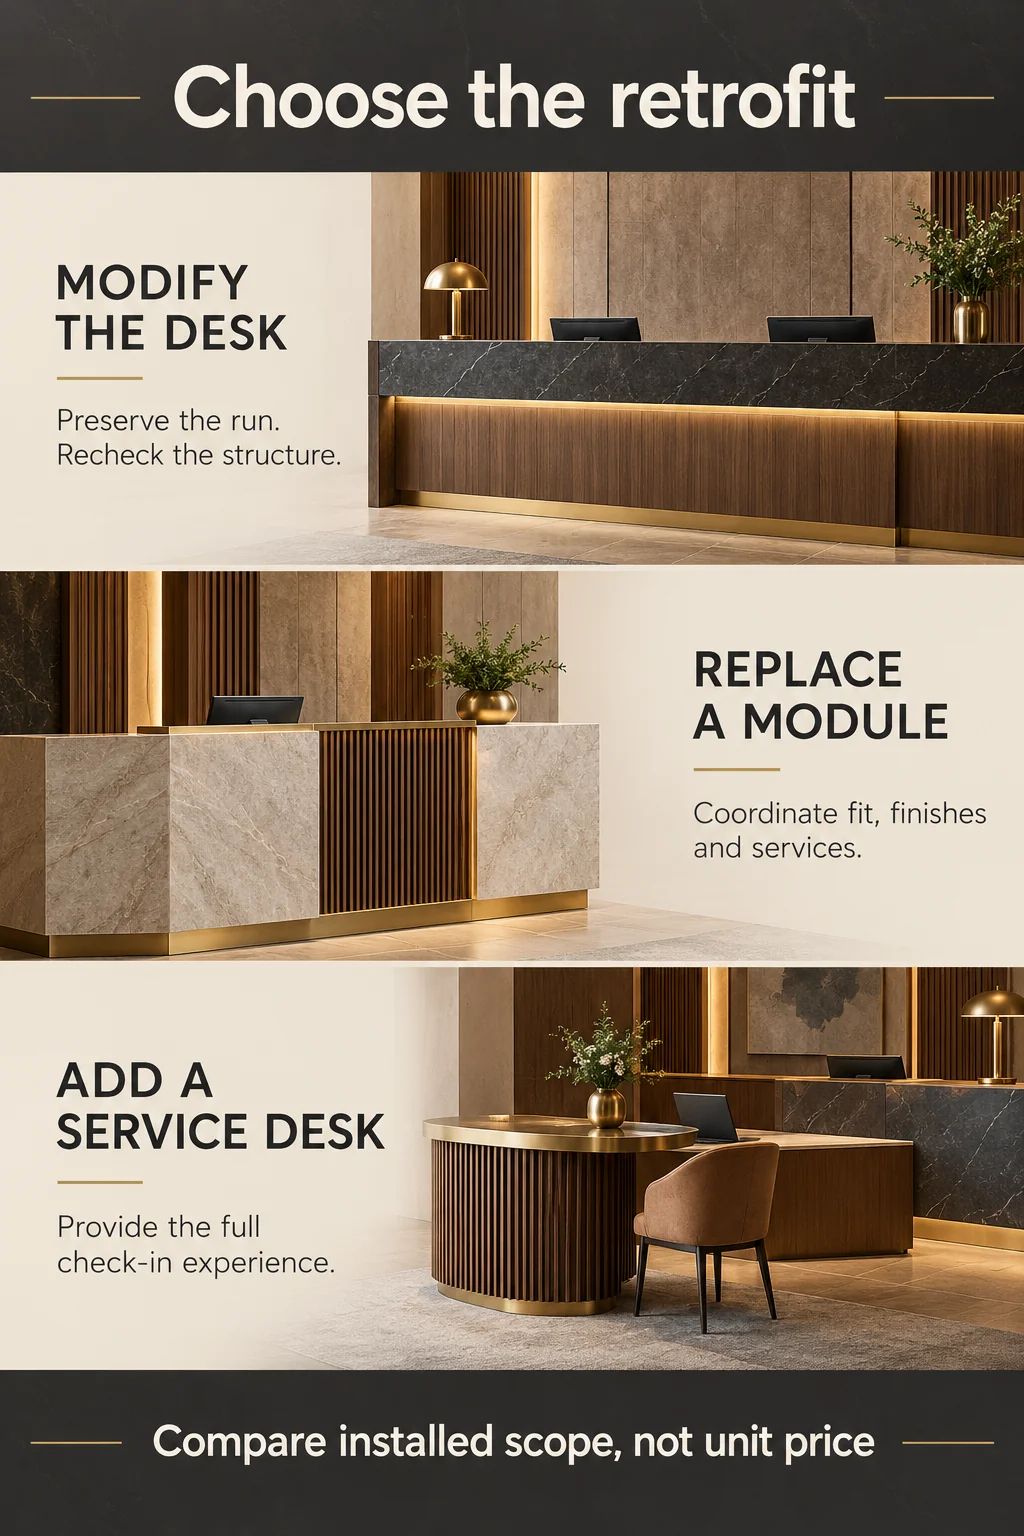
Compare the physical options
| Retrofit option | Strongest use case | Main design risk |
| Modify an existing section | Sound millwork with a suitable guest approach and an adaptable internal structure. | Removing a panel or cutting stone may change support, expose unfinished edges, or disrupt utilities. |
| Replace one counter module | A reception run with separable units or a bay that can be rebuilt. | New and retained parts must align; joints, floor levels, cables, and finish differences need coordination. |
| Add a separate staffed service desk | The main desk cannot reasonably accommodate the intended layout, but a nearby suitable position is available. | The desk may be isolated, unstaffed, or missing payment and key-issuing functions. |
| Use an adjustable-height surface | The service model benefits from a range of working heights. | Controls, stability, cables, moving clearances, and the lowest available setting require review. |
| Install a fold-down or pull-out surface | A constrained proposal that the designer can validate for its particular use. | Brackets, deployment effort, storage conflicts, and inconsistent availability can defeat the intended access. |
A separate desk should offer a normal, dignified service experience. Position it where staff can see arrivals and assist promptly. A guest should not have to wait for a manager to clear a storage table before checking in. Review whether the proposed desk satisfies the project’s required counter provision, rather than assuming that any nearby table is an equivalent substitute.
Inspect the existing desk before cutting it
Ask the fabricator to inspect the cabinet construction and identify which panels carry the countertop. A front panel may provide bracing even when it looks decorative. A stone top may need a new support arrangement after its span changes. Any structural proposal should preserve the required guest clearance; relocating the obstruction from a panel to a bracket does not solve the problem.
Trace power and data connections before removal. Coordinate disconnection and reconnection with the appropriate trades and device providers. Keep serviceable components accessible from the staff side wherever practical. Provide a way to replace a power supply or terminal cable without dismantling the guest-facing counter or leaving an access panel open in the knee space.
Specify the finished assembly
An approval drawing should show the plan, guest-facing elevation, and a section through the actual service position. Identify the finished surface height, clear opening, underside profile, supports, junctions with retained millwork, and equipment locations. Mark which dimensions are field-verified and which remain assumptions. Release fabrication only when responsibility for resolving those assumptions is clear.
Choose a durable, cleanable surface that supports writing without excessive glare. Agree the edge treatment and repair method, and review a physical finish sample under the lobby lighting. Matching a new walnut panel to an aged existing veneer can require more than selecting the same nominal color. A deliberate coordinated contrast may be easier to maintain than an imperfect imitation.
For related furniture and device coordination, review KW Hospitality’s lobby and front-desk supplies. Keep the approved geometry in the purchasing brief so finish substitutions cannot silently change the functional design.
Compare the total installed scope
Request comparable pricing for survey work, drawings, samples, fabrication, removal, delivery, installation, electrical or data work, surface repairs, and final verification. Confirm which party protects surrounding finishes and disposes of the removed material. A low fabrication price can exclude the work that makes the counter usable in its actual location.
Plan the installation around occupied-hotel operations. Establish a temporary service position, guest routing, noise and dust controls, and a realistic handover window. Confirm delivery access for the largest assembled component. A replacement module that fits the lobby drawing still needs to pass through the receiving route and reach its installation position safely.
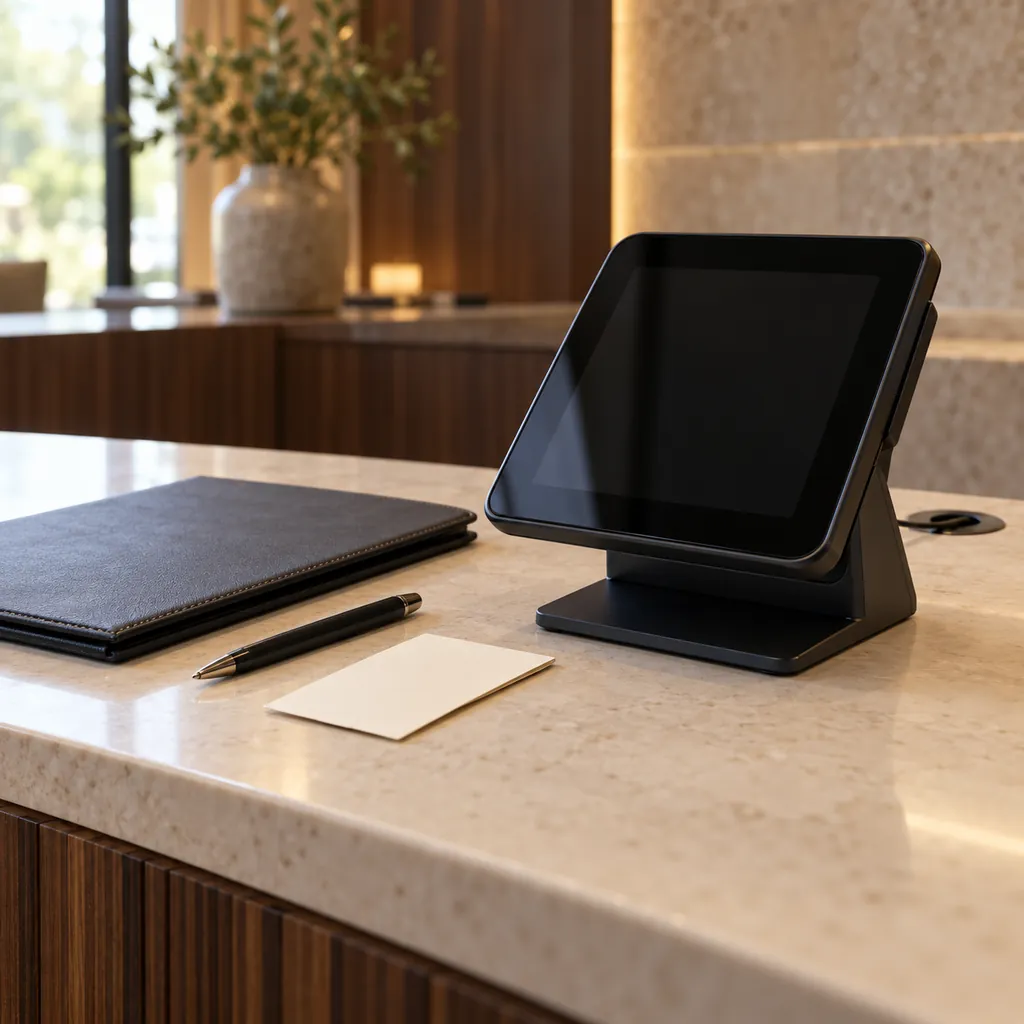
Verify the Installed Surface and the Check-In Experience
Approval should combine a measured inspection with an operational trial. Measurements establish whether the finished assembly matches the accepted design; the trial reveals whether people can actually use the service. Run both after the terminal, cables, stationery, queue equipment, and decorative items are in their normal locations. An empty desk can conceal problems that return as soon as reception resumes. Invite feedback from people with relevant access needs where possible, while retaining the designer’s dimensional review. A successful trial with one person is useful evidence about that experience, but it cannot certify access for every guest.
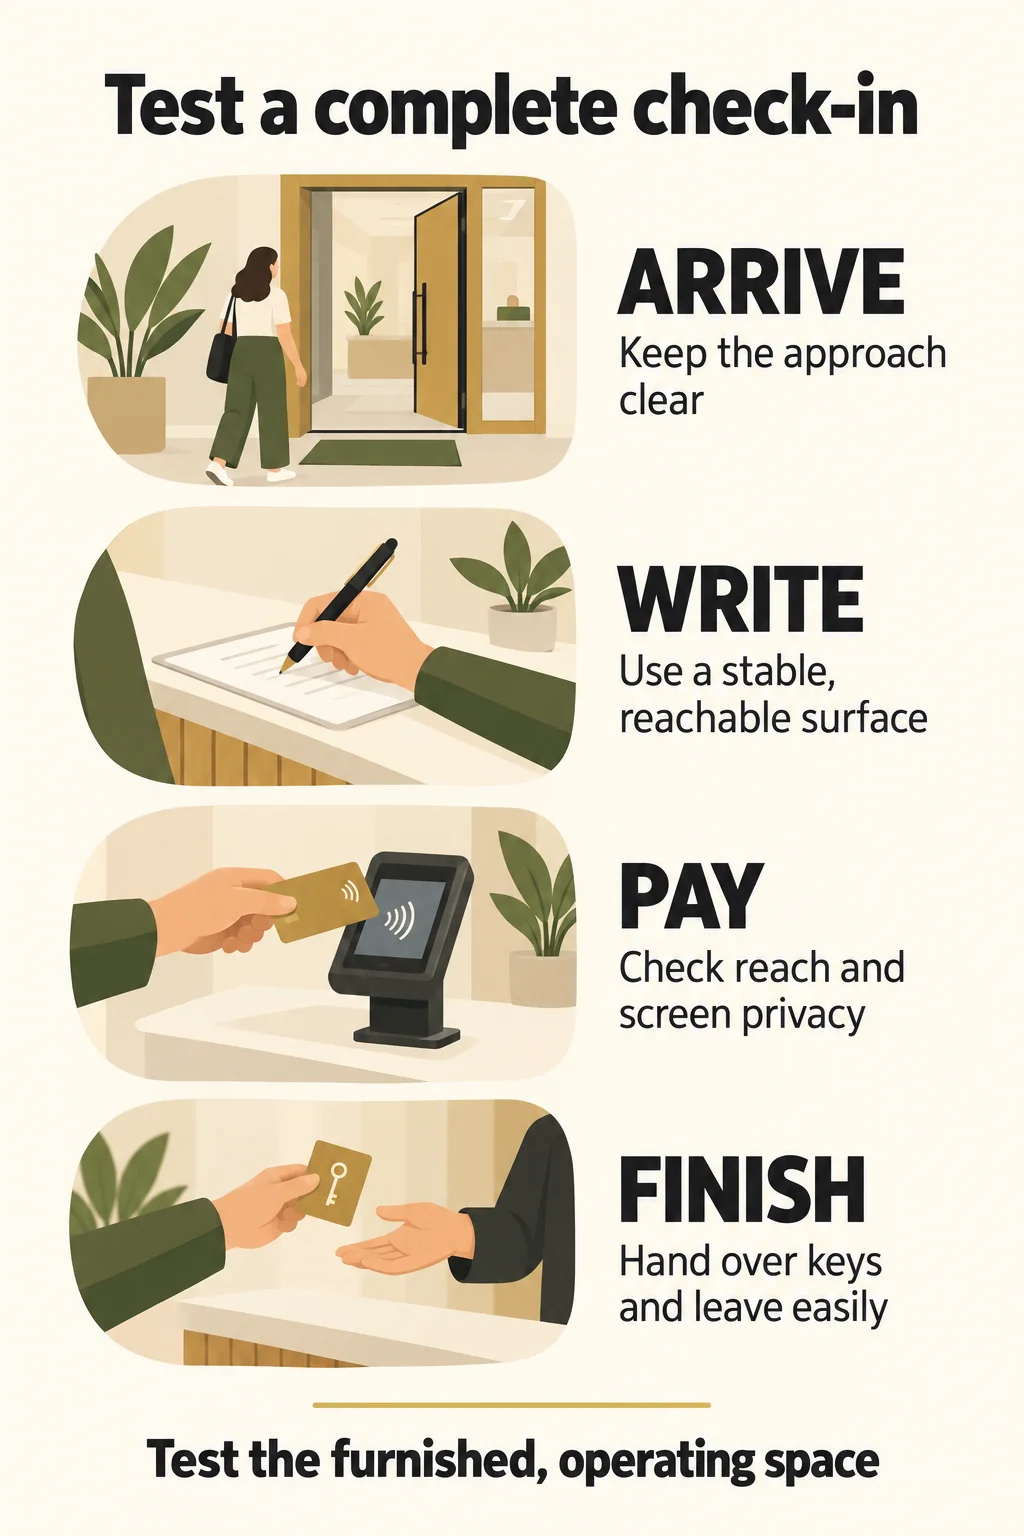
Test devices where they will be used
A low countertop does not guarantee a reachable payment terminal. Review the position of the guest’s clear floor space, the horizontal reach to the controls, the terminal’s height and angle, and any obstruction between them. Where applicable, assess operable parts using the relevant reach provisions. The common US unobstructed reach range of 15–48 inches above the floor is not a blanket allowance for controls placed behind a deep countertop; obstructed reaches have additional limits.
Use the actual terminal and mount for the trial. Check whether a guest can read the display, insert or tap a card, enter a PIN privately, and retrieve the card without moving to the high counter. If the device is movable, define its normal operating position and manage the cable so it does not snag a mobility device. Keep payment security requirements coordinated with physical access.
Review the writing task separately. A guest may need space for a document, a pen, and a forearm rather than a narrow strip occupied by a tablet stand. Keep the usable area clear of brochure holders and tip containers. If a screen replaces paper, assess the digital interface as well; accessible millwork does not establish accessible software.
Run a realistic arrival scenario
Use a fictional reservation and a test payment workflow. Begin at the normal arrival route, join the queue, approach the service position, exchange information, complete any signature task, use the terminal, receive a key envelope, and leave toward the elevators. Observe where staff have to move devices or ask the guest to reposition. These observations identify problems to resolve before opening the station.
Repeat the scenario with the queue layout and luggage conditions expected during a busy arrival period. Include communication needs in the review: staff visibility, lighting, background noise, written information, and any assistance equipment. Let the guest direct the interaction. Provide help when requested without making staff assistance the default substitute for a usable surface.
Diagnose failures at the point they occur
| Observed problem | Likely issue to investigate | Design response to evaluate |
| Guest cannot get close enough | Apron, cabinet base, support, or queue equipment occupies the approach. | Rework the obstruction and remeasure the complete required envelope. |
| Writing is awkward | Insufficient usable surface, glare, or an inconvenient approach angle. | Review the surface configuration with actual documents and devices. |
| Terminal remains out of reach | Mount position or horizontal reach was omitted from the drawing. | Reposition the device and verify controls, visibility, privacy, and cable travel. |
| Low desk is rarely available | The area becomes storage or staff do not use the station. | Assign operating ownership and integrate the station into normal service. |
| New installation differs from approval | Top, brackets, flooring, or equipment changed after the mock-up. | Record the deviation, correct or obtain a reviewed redesign, then inspect again. |
Document handover and protect the result
Retain the approved drawing revision, finished measurements, photographs, device positions, and outstanding corrections with the project handover record. Identify who authorizes completion. If a measured requirement is not met, a favorable user trial does not override it. Conversely, satisfying isolated dimensions does not make a difficult service procedure acceptable.
Make keeping the approach and work surface clear part of the front-desk routine. Give cleaning and reception staff an agreed arrangement for the terminal, stationery, and guest materials. Recheck the station when equipment, furniture, flooring, or queue routing changes. The front-desk procurement and inventory guide can help coordinate the surrounding supplies so they do not gradually reclaim the accessible work area.
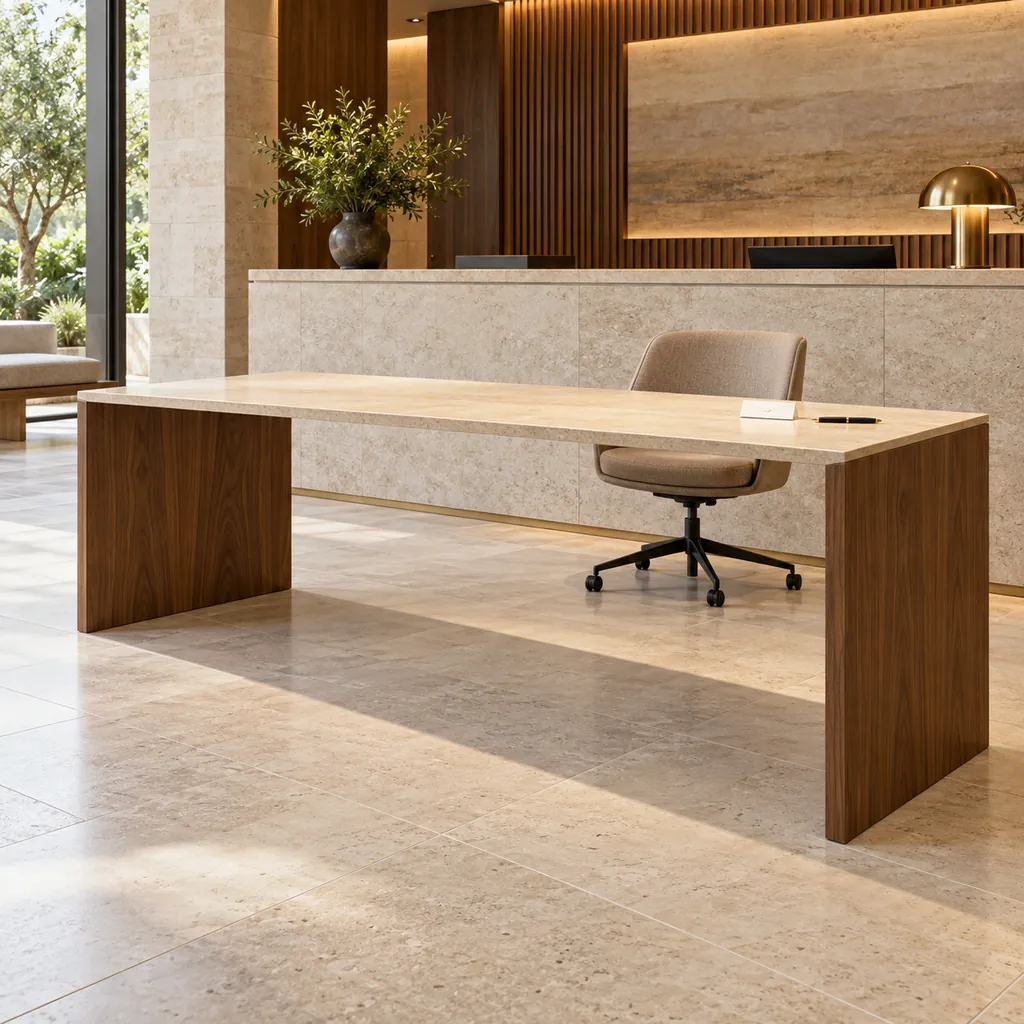
Conclusion
A successful reception counter retrofit begins with the correct surface classification and ends with a usable check-in in the furnished lobby. Confirm the applicable project requirements, choose an approach that suits the available space, and develop the counter details around that decision. Compare modification, replacement, and a separate service position on their complete installed scope. Before handover, verify the finished dimensions and walk through the actual guest tasks. Keep the approved area available afterward. This sequence gives owners and purchasing teams a clearer basis for approval than a product description or a photograph of a low counter.
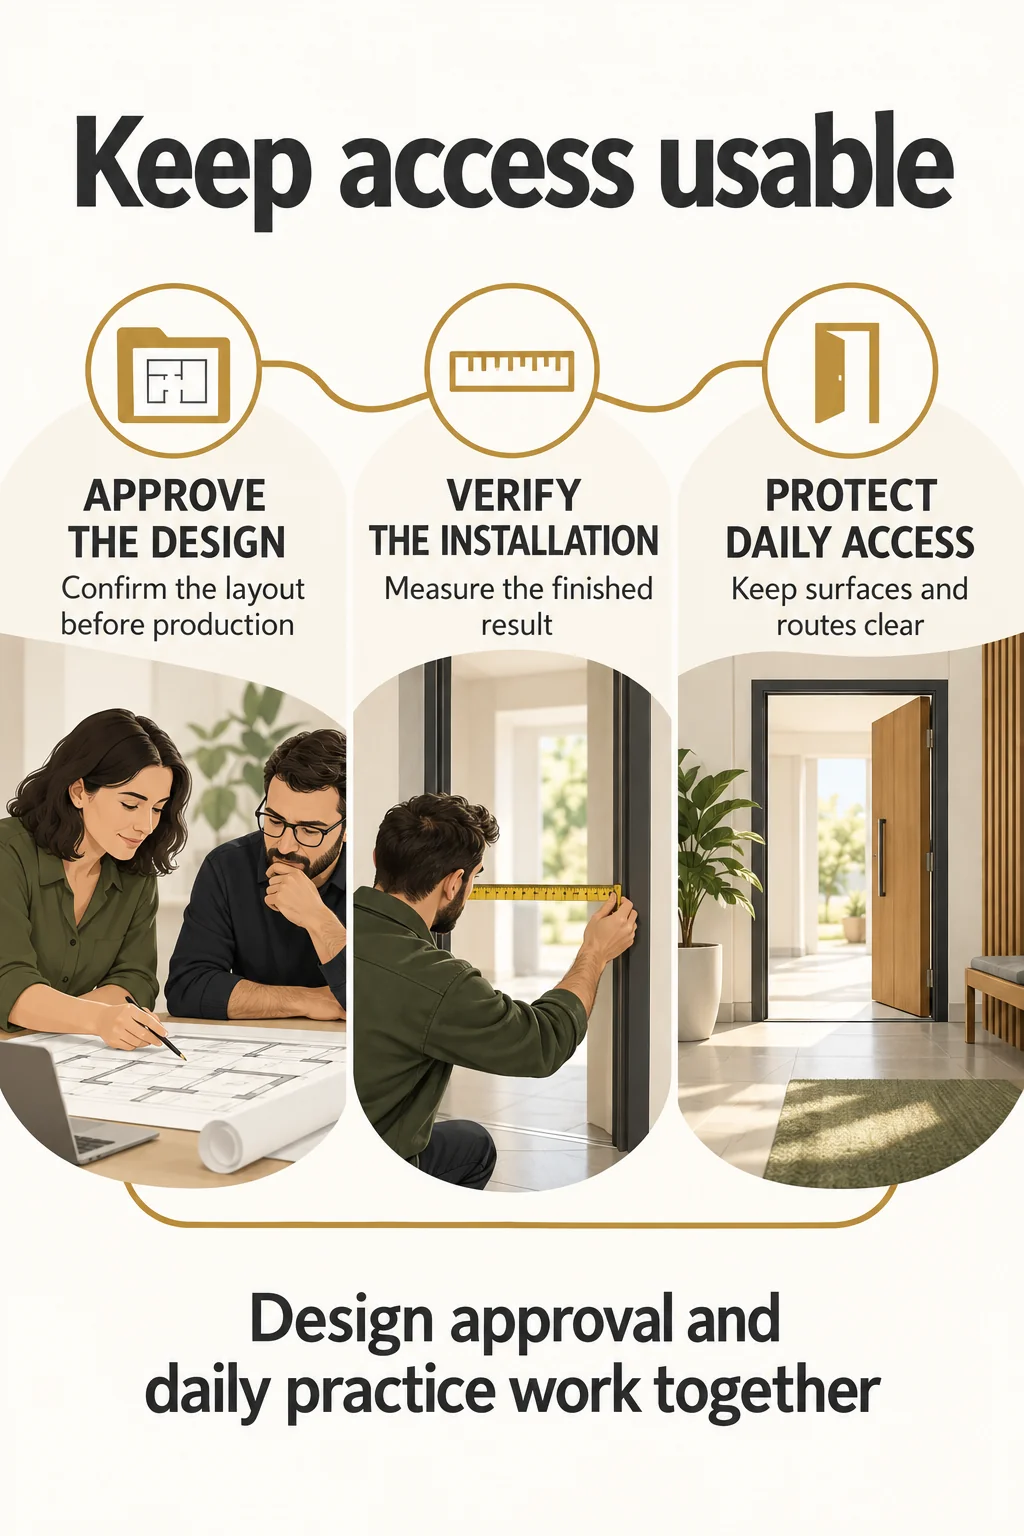
Once your designer has established the required layout, request a reception-counter sourcing quote from KW Hospitality. Include the existing desk photographs, field dimensions, reviewed drawings, finish preferences, equipment models, installation responsibilities, delivery location, and required date. Identify unresolved design items explicitly so preliminary pricing is not mistaken for approval to manufacture.
Frequently Asked Questions
Can we provide a clipboard instead of changing the counter?
A clipboard may be useful assistance for an individual guest, but it does not establish that a required physical counter or work surface complies. Do not use it as an automatic exemption from a retrofit. Review the property’s physical obligations and keep any interim service accommodation separate from the permanent design decision.
Does every hotel reception counter need knee space?
Not every permitted configuration uses the same approach. A qualifying US service counter arranged for a parallel approach does not carry the forward-approach knee-space requirement. A forward-approach service counter or covered writing surface does. The approach must be established in the design; it cannot simply be changed on paper to excuse an obstructed installation.
Can an adjustable desk be left at its highest setting?
Its usable range alone does not resolve accessibility. Guests must be able to obtain the intended service without avoidable difficulty, and the controls, default arrangement, and staff procedure need review. Decide how the surface is made available and verify the approved configuration in normal operation.
Can a freestanding desk count as the accessible check-in position?
It may be a suitable proposal, but the project designer must confirm the applicable requirements and arrangement. It needs the necessary route, clearances, equipment, staffing, and service functions. An attractive lounge table nearby is not automatically an approved reception-counter replacement.
Does a compliant counter make the entire hotel check-in accessible?
No. The route, communication, payment devices, digital interfaces, queue management, and staff practices can each create separate barriers. Review those parts with the counter and address any additional requirements that apply to the property.
Should we order a counter described as ADA compliant without drawings?
No. Ask for dimensioned drawings of the proposed configuration and have them reviewed for the project. A supplier’s label cannot establish the finished floor height, approach space, surrounding obstructions, or installed device reach at your hotel. Approval should relate to the actual assembly and location.
References
- U.S. Access Board — Chapter 9: Built-In Elements
- U.S. Access Board — Chapter 3: Building Blocks
- Government of Ontario — O. Reg. 191/11: Integrated Accessibility Standards
- U.S. Department of Justice — Businesses That Are Open to the Public
- U.S. Access Board — Chapter 3: Operable Parts